Hey there, dental champions!
When it comes to giving your patients top-notch care, nailing those endodontic procedures is a game-changer.
Picture this: you’re on a mission to remove gutta-percha, and you need the right endo file to make it happen seamlessly. But with so many options out there, how do you pick the best one?
Fear not, because we’ve got your back! In this article, we’re diving into the world of endodontic files—the trusty tools that make gutta-percha removal a breeze.
Whether you’re a seasoned pro wanting to up your game or a fresh face in the field eager to learn the ropes, get ready to explore all things gutta-percha removal. Join us as we break down the types of files available and answer that burning question: What’s the ultimate file for gutta-percha removal?
What are the various methods to remove gutta percha from a root canal?
There are several methods that dentists can employ to remove gutta-percha from a root canal during endodontic procedures. Each method has its own advantages and considerations, allowing the dentist to choose the most suitable approach based on the specific case at hand. Here are some common methods for removing gutta-percha from a root canal:
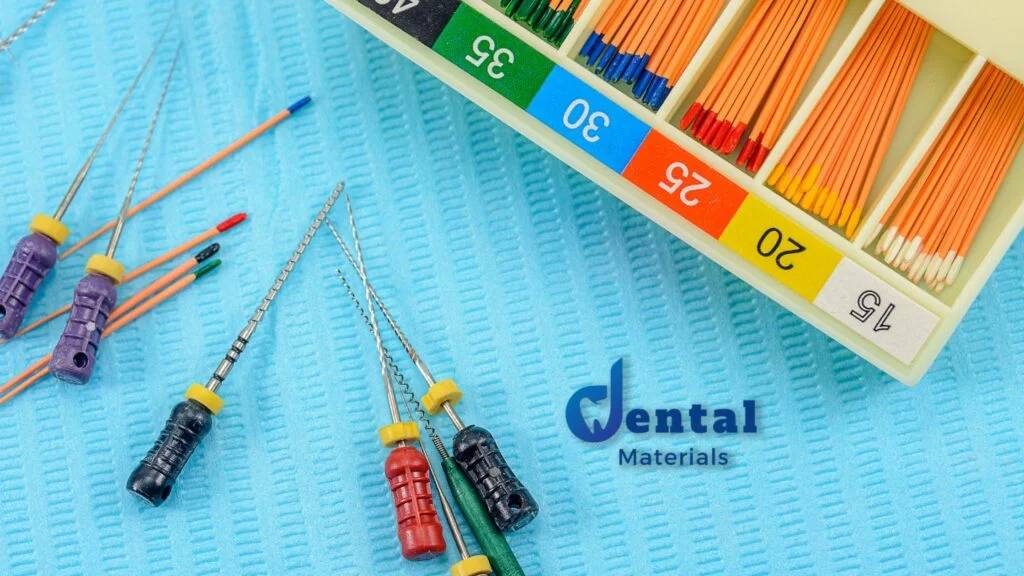
Hand Files and Hedstrom Files
Hand files are manually operated instruments that allow the dentist to gently scrape and break down the gutta-percha. Hedstrom files, a type of hand file, have twisted cutting edges that aid in the removal process. This method provides tactile control but may require more time and effort, especially in complex cases.
Heat and Rotary Instruments
Heat can be applied to soften the gutta-percha, making it easier to manipulate and remove. Techniques such as warm vertical compaction or the use of electric heat sources can aid in loosening and condensing the material. Rotary instruments, such as Gates-Glidden burs or Peeso reamers, can then be used to mechanically remove the softened gutta-percha.
Solvents
Chemical solvents like chloroform, eucalyptol, or citrus-based solvents can be used to dissolve gutta-percha. The solvent is applied to the gutta-percha in the canal, which softens and breaks down the material, making it simpler to remove using hand files or rotary instruments. This method requires proper ventilation and careful handling of the solvents due to potential health risks.
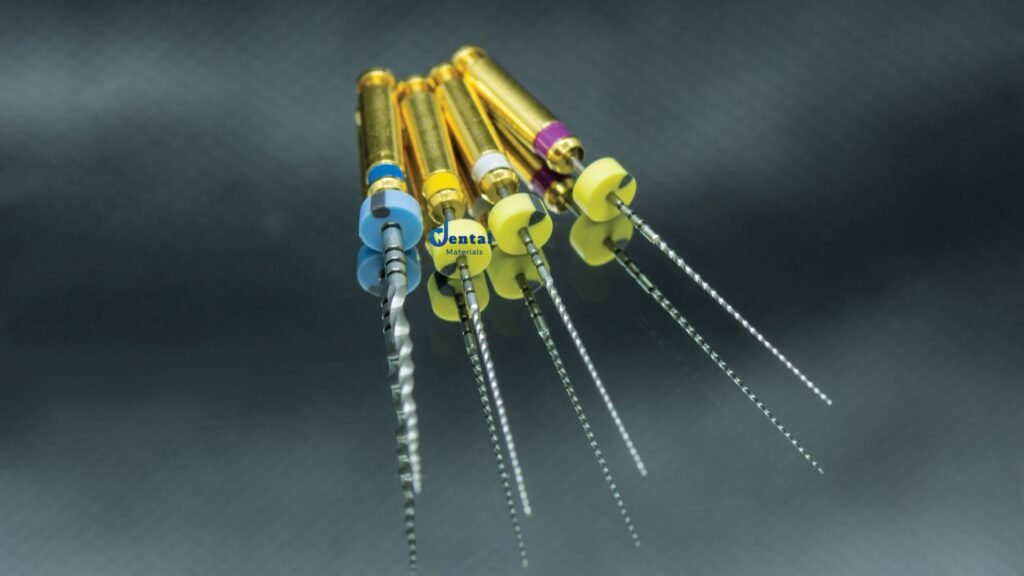
Retreatment Files
Specialized retreatment files designed for gutta-percha removal, such as Protaper Universal Retreatment or D-RaCe files, can effectively engage and dislodge the material from the canal walls. These files are engineered with specific shapes and cutting edges to facilitate efficient gutta-percha removal.
Ultrasonic Instruments
Ultrasonic devices emit vibrations at high frequencies, which can help in breaking down and dislodging gutta-percha from the canal walls. Ultrasonic tips are designed to be gentle on dentin while effectively agitating and loosening gutta-percha for easier removal.
Laser-Assisted Techniques
Laser systems with appropriate settings can be used to selectively target and soften gutta-percha. This technique offers precise control and can be less invasive compared to traditional methods. However, it requires specialized training and equipment.
Hybrid Techniques
In some cases, a combination of methods may be used to optimize gutta-percha removal. For example, a solvent can be used to soften the material, followed by mechanical removal using hand files or rotary instruments.
It’s important to note that the choice of method depends on factors like the complexity of the case, the patient’s anatomy, the presence of obstructions, and the dentist’s familiarity with the technique. Before proceeding, dentists should assess the patient’s clinical condition and thoroughly consider the benefits and potential risks associated with each removal method.
What RPM is the best with NiTi Rotary files in retreatments?
The recommended revolutions per minute (RPM) for using NiTi (Nickel Titanium) rotary files in retreatment procedures can vary depending on factors such as the brand of the rotary file system, the specific file being used, and the manufacturer’s guidelines. However, there are general guidelines that can help provide a starting point for using NiTi rotary files in retreatment cases.
In retreatment procedures using NiTi rotary files, the RPM is typically lower compared to initial root canal preparation. It’s important to use a lower RPM to avoid generating excessive heat and reducing the risk of file separation or canal transportation. A common range for RPM during retreatment with NiTi rotary files might be around 150 to 300 RPM.
Keep in mind that each NiTi rotary file system may have its own recommendations, and it’s crucial to follow the manufacturer’s instructions and guidelines for the specific files you are using. These guidelines often include recommended RPM ranges and torque settings to ensure safe and effective usage.
Additionally, factors such as the size of the canal, the curvature of the root, and the amount of remaining gutta-percha or filling material can influence the appropriate RPM to use. Consulting with the manufacturer’s instructions and seeking guidance from experienced endodontists can help you determine the best RPM settings for NiTi rotary files in retreatment cases.
Hedstroem Displacement Technique
The Hedström Displacement Technique, also known as the Hedström file technique, is an endodontic method used to remove gutta-percha and other obturation materials from a root canal during retreatment procedures. This technique employs specially designed Hedström files, which are hand instruments with twisted cutting edges that allow for effective removal of materials from the canal walls.
Here’s an overview of how the Hedström Displacement Technique is typically performed:
- Assessment: Before beginning the technique, the dentist assesses the tooth’s previous root canal treatment and identifies the need for retreatment due to issues such as inadequate previous cleaning, persistent infection, or recurrent symptoms.
- Access Preparation: The access cavity is opened to gain access to the root canal system. This provides visibility and space to work within the canal.
- Initial Gutta-Percha Removal: Using a Gates-Glidden bur or similar instrument, the bulk of the gutta-percha is removed from the coronal part of the canal. This initial step helps create space for the Hedström files to engage the remaining material.
- Hedström File Selection: Hedström files are hand instruments with a twisted design that provides cutting edges. These files come in various sizes and tapers. The dentist selects a Hedström file with a diameter slightly smaller than the original canal diameter to avoid excessive dentin removal.
- Engagement and Displacement: The selected Hedström file is inserted into the canal, and its twisted design aids in engaging and displacing the gutta-percha or other obturation materials from the canal walls. The dentist uses a gentle filing motion combined with a push-pull technique to dislodge the material.
- Irrigation and Recapitulation: Throughout the process, regular irrigation with irrigating solutions helps flush out debris and debris. After using each Hedström file, recapitulation—re-entering the canal with a smaller file—ensures that the removed material is further dislodged and cleared away.
- Sequential Progression: The dentist progresses to larger Hedström files as needed, ensuring gradual and controlled removal of the gutta-percha and obturation materials while minimizing the risk of canal transportation or over-instrumentation.
- Final Cleaning and Shaping: Once the majority of the gutta-percha is removed, the remaining debris is thoroughly cleaned using irrigation solutions and shaping files to ensure proper disinfection and shape refinement.
It’s important to note that the Hedström Displacement Technique requires a delicate touch and experience to prevent overuse or over-instrumentation, which could damage the tooth’s structure. Additionally, the technique might not be suitable for all cases, especially in cases with complex anatomy or previous procedural challenges.
As with any endodontic technique, the decision to use the Hedström Displacement Technique should be based on the dentist’s assessment of the specific case and their familiarity with the procedure.
Tips to remove silver points
Removing silver points, which are old-fashioned root canal filling materials, can be challenging due to their potential for being tightly bonded within the root canal. Here are some tips to effectively and safely remove silver points during endodontic retreatment:
- Preoperative Assessment: Before attempting to remove silver points, thoroughly assess the patient’s clinical history, radiographs, and the anatomy of the tooth. Understand the position, length, and potential complications associated with the silver points.
- Access Cavity: Create a well-prepared access cavity that allows clear visualization and access to the root canal system. This will provide space for the necessary instruments and improve your ability to navigate the canal.
- Ultrasonic Tips: Ultrasonic instruments can be highly effective in dislodging silver points by vibrating them and breaking their bond with the canal walls. Use ultrasonic tips designed for this purpose, and gently work around the silver points to weaken their attachment.
- Solvents: Chemical solvents, such as eucalyptol or chloroform, can soften gutta-percha and sealers, making it easier to manipulate and remove. Apply the solvent to the silver points and let it penetrate before attempting to remove them. Ensure proper ventilation and use these solvents with caution.
- Specialized Instruments: Use specially designed endodontic instruments, such as silver point removal files or extractors, that are created to engage and grip the silver points for extraction. These instruments are designed to reduce the risk of root damage and breakage.
- Heat: Applying heat to the silver points can soften the surrounding gutta-percha, which may help in their removal. Use controlled heat sources and be cautious not to overheat the tooth or compromise its structural integrity.
- Grinding Techniques: In some cases, a slow-speed handpiece with a diamond bur can be used to carefully grind away the gutta-percha around the silver points, allowing for their eventual extraction.
- Patience and Skill: Removing silver points requires a combination of skill, patience, and finesse. Take your time, work slowly and gently, and be prepared to adapt your approach based on the response of the silver points.
- Radiographic Guidance: Continuously monitor your progress with radiographs to ensure that you are not inadvertently causing canal deviation or perforations while attempting to remove the silver points.
- Consultation: If you encounter challenges or complexities during the removal process, don’t hesitate to seek advice or collaborate with experienced endodontists who have encountered similar situations.
Remember that silver point removal can be intricate and may require a combination of techniques. The key is to prioritize patient safety, minimize the risk of complications, and approach the procedure with careful planning and execution.